The One Question That Keeps Coming Back
“How do I mount my Buttkicker Gamer Pro under my Next Level Racing seat?” That question shows up in nearly every sim racing Discord the moment someone orders their first bass shaker. Short answer: it depends on what your NLR rig is made of. Long answer: keep reading.
The Gamer Pro itself is fantastic. That thud when you crash, the rumble of your engine, you feel it in your lower back. Literally. But mounting it isn’t one story. An NLR rig built from aluminium profile is a different animal than an NLR rig built from steel tubing. And Buttkicker ships something different for each.
What’s Actually in the Box
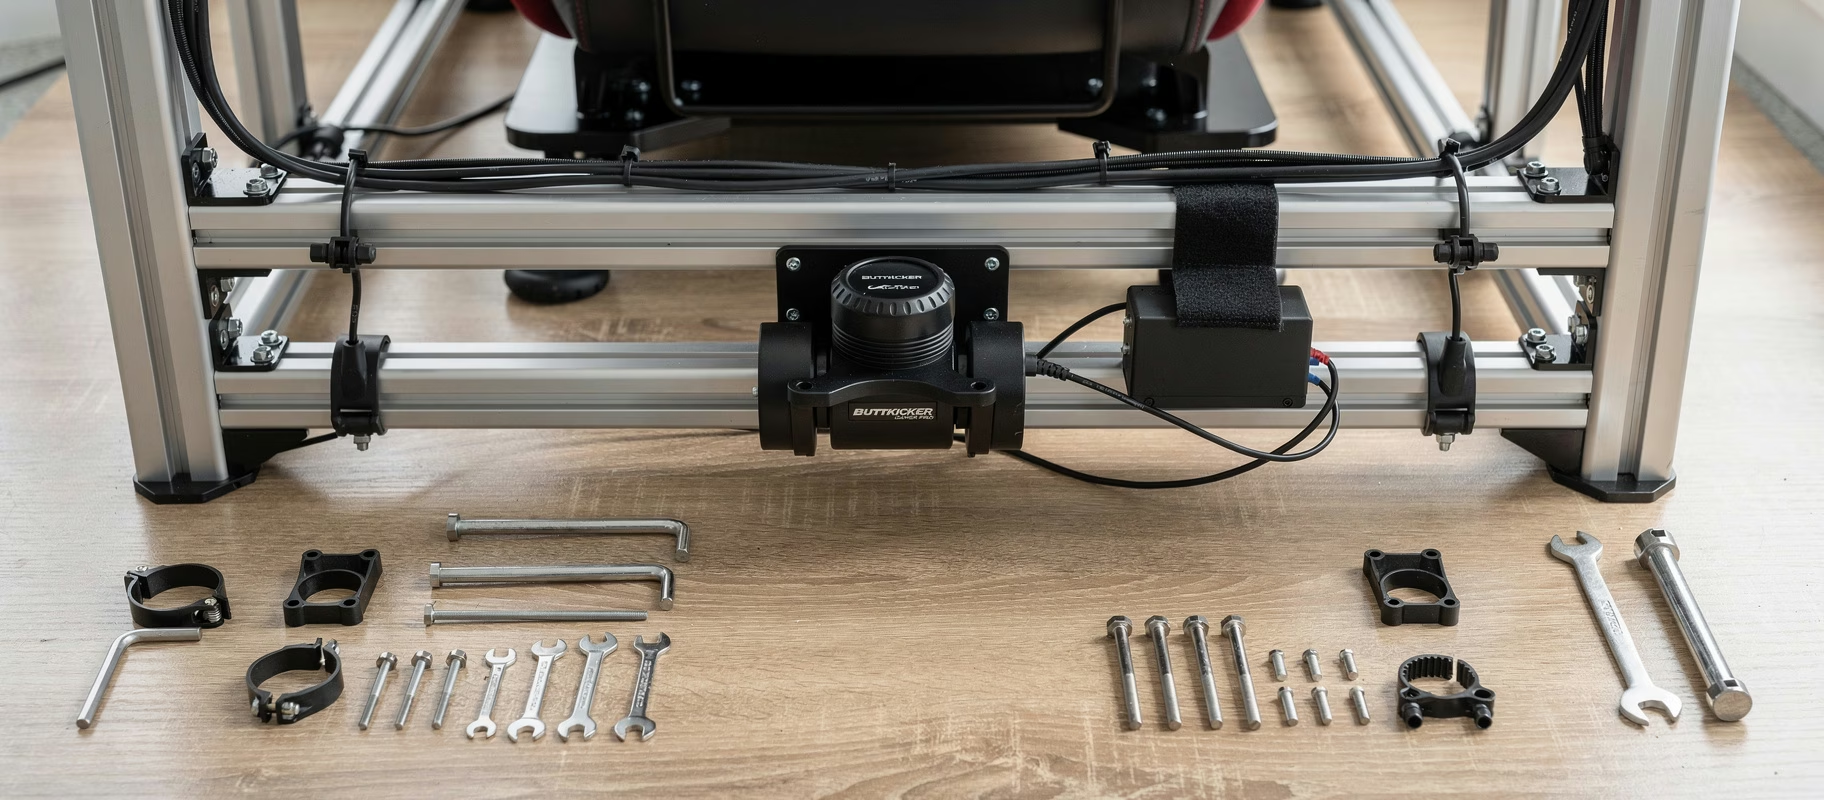
The Buttkicker Gamer Pro ships with the transducer (the black cylinder that does the vibrating), a 150 watt amplifier with a remote, the cables you need, and a universal clamp. That clamp is made for round or square tubing roughly 25 to 45 millimetres thick. Designed for an office chair post, but it wraps around a tube frame just as happily.
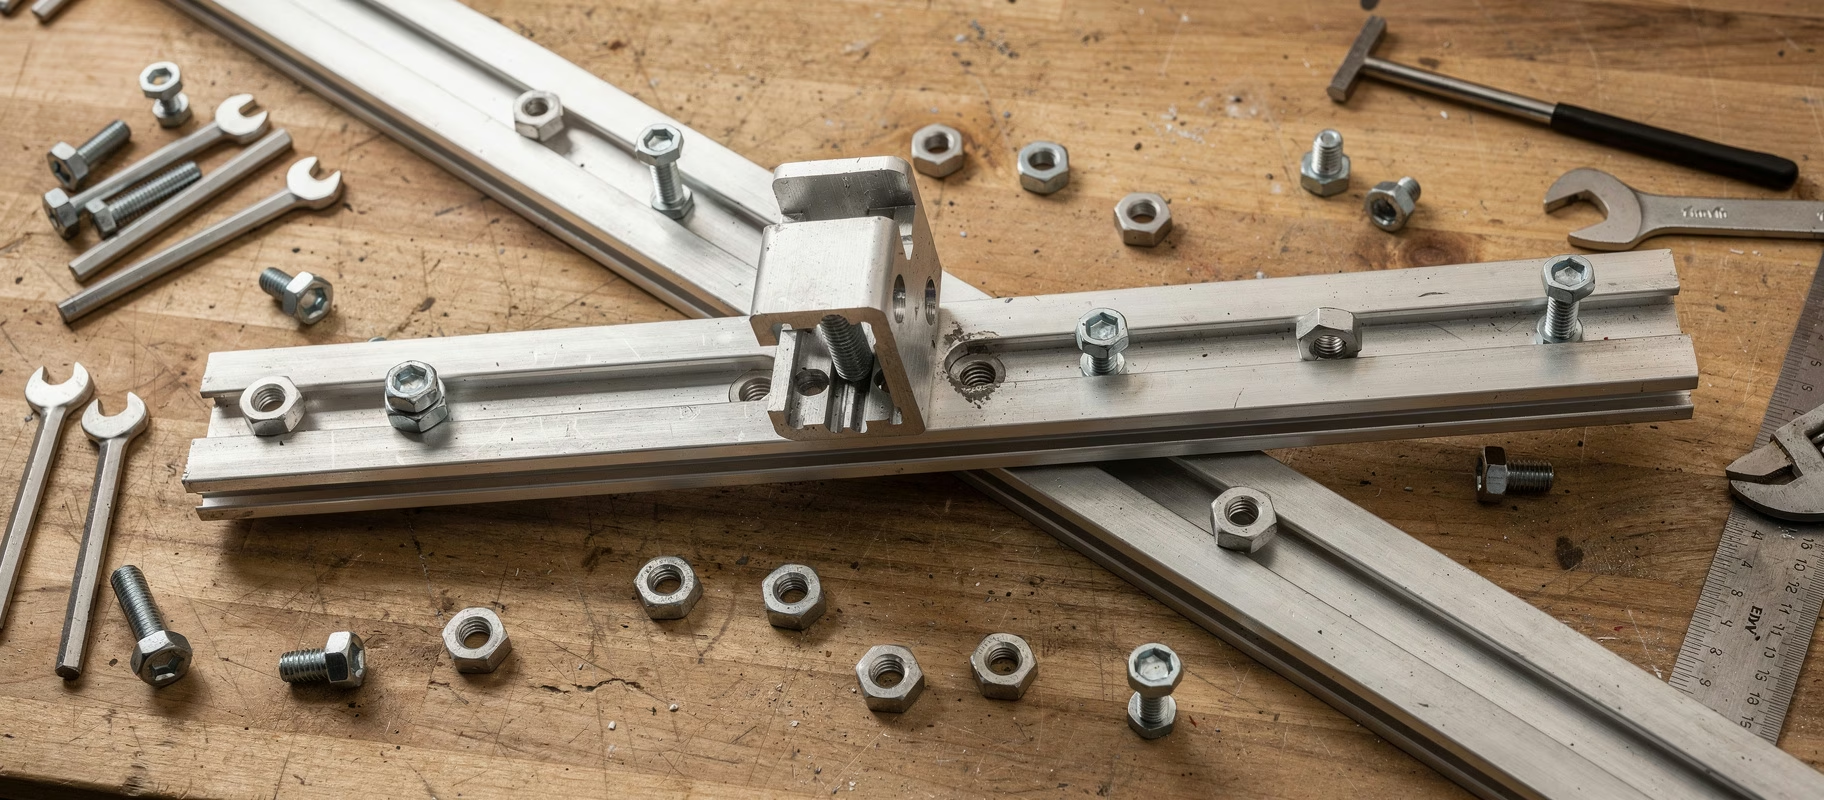
Newer kits also include an aluminium 4080 mount post. It’s a small block that bolts into the slot of 40x40 or 40x80 profile with two M8 bolts and T-nuts. You then clamp the Gamer Pro onto that post with its own universal clamp. Buying an older kit second-hand? Check whether the post is in there. On its own it costs a few tens of euros.
So: no drilling, no wood screws. But two different mounting methods. And your frame decides which one you need.
Not Every NLR Frame Is the Same
This is where most of the headache starts. People assume “it’s a Next Level Racing rig, so it’ll work the same everywhere.” Wrong. Completely wrong.
The Next Level Racing F-GT Lite folds up and uses thin, curved steel tubing. Great for storage. Less great for a heavy bass shaker. Here you use the universal clamp, around a tube under the seat. Measure the tube diameter first. If it lands inside that 25 to 45 millimetre range, you’re fine. Just know that a thin tube frame swallows part of the vibration before it reaches your back.
The Next Level Racing F-GT Elite 160 (V3) tells a different story. That 160-profile aluminium is stiff, straight, and slotted everywhere. The 4080 post slides into the slot under the seat, two bolts tightened, Gamer Pro clamped on. Done. This is the setup Buttkicker now designs the kit around, and it shows.
And if you happen to own a Next Level Racing Motion Platform V3? The real question isn’t whether you can bolt on a Gamer Pro. It’s whether you should. A motion platform already moves. Stack a bass shaker on top and you get a cocktail of vibrations that can fight each other. Test with a loose mount first. Don’t bolt anything down until you know it works.
The Actual Mounting Process, Step by Step
Okay. Let’s get into it. Two routes, depending on your frame.
What you’ll need:
- The Buttkicker Gamer Pro kit, including the universal clamp and (on newer kits) the 4080 post
- For a tube frame: a strip of rubber or a vibration-damping pad
- Velcro straps or zip ties for the amplifier and cables
- An Allen key
Step 1: Find the right mounting spot. You want the transducer as close to your seat as possible, but not so low it clips the floor when you tilt the seat back. Check under the seat pan for the crossbar or profile nearest your tailbone. That’s usually your sweet spot.
Step 2a (aluminium profile): Fit the 4080 post. Slide the two T-nuts into the slot, bolt the post on, and tighten hand-firm. Not full torque yet. You want to be able to shift it later.
Step 2b (tube frame): Clamp the universal clamp around the tube. Slide a strip of rubber between the clamp and the tube first. It stops scratches and kills the rattle that has nothing to do with your game. Again, hand-firm.
Step 3: Clamp the Gamer Pro on. Just follow Buttkicker’s own instructions here. That part’s standard, and it works fine.
Step 4: Test the position before final tightening. Sit down. Play for a few minutes. Do you actually feel the vibration, or does it disappear into the frame? Shift it a few centimetres if you need to. Now’s the time to experiment. Not after everything’s locked in.
Step 5: Lock everything down and route your cables. Velcro the amplifier to the frame somewhere reachable but out of your way while driving. Zip tie the cabling neatly along the frame. Nobody wants loose wires anywhere near their pedals.
Compatibility Cheat Sheet
Since people keep asking, here’s the quick breakdown by rig type:
| Frame / Rig | Material | Best method | Watch out for |
|---|---|---|---|
| NLR F-GT Lite | Thin steel tube | Universal clamp on a tube under the seat | Measure the diameter, thin frame damps the vibration |
| NLR F-GT Elite 160 V3 | 160-profile aluminium | 4080 post in the slot | Sturdiest option, plenty of placement room |
| NLR Motion Platform V3 | Aluminium | Loose test before mounting | Combining with motion can conflict |
| Trak Racer TR8 PRO | 51 mm steel tube | Separate clamp or mounting plate | Tube is too thick for the included universal clamp |
That TR8 Pro deserves its own note. Its 51 millimetre round tubing sits outside the range of the clamp in the box. So you need a bigger tube clamp, or you mount the 4080 post on a separate plate. Heavy frame, plenty of room under the seat, but not plug-and-play.
The Mistakes Everyone Makes
Mistake 1: Drilling straight into the frame. Sure, it’s possible. But Buttkicker ships a clamp and a T-slot post for a reason. Drill in the wrong spot and you’re weakening the structure of your whole rig. Not worth it. Ever.
Mistake 2: Placing the transducer too close to moving parts. This matters a lot on adjustable seats or motion platforms. Always run through the full range of motion before you lock the bass shaker in place. Otherwise you’ll get a bang one day that has nothing to do with your game.
Mistake 3: Skipping isolation on a tube frame. Skip the rubber or damping and you’ll get a constant rattle every time the transducer kicks in. Sounds like a loose bolt echoing through your whole house. Exhausting after about ten minutes.
Mistake 4: Letting the amplifier dangle. That cable will find its way into your pedals or your seat adjustment mechanism eventually. Secure the amp. Always.
Mistake 5: Assuming one position works for everyone. Your driving posture, body weight, and seat settings are different from the next person’s. What works for someone on YouTube won’t automatically work for you.
Is It Worth the Hassle?
Yes. No question. A properly mounted Buttkicker Gamer Pro adds a layer of feedback that no seat, wheelbase, or pedal set can give you on its own. Engine vibrations, curbs, crashes. You feel them instead of just hearing them.
On an aluminium NLR rig it’s close to plug-and-play these days. On a tube frame you’ll need to measure and damp. Take the time for that, and test before you lock anything down for good. Twenty extra minutes now saves you an entire afternoon of frustration later.