The problem is rarely your talent
Lap one, you brake perfectly at the 100 m board. Lap two, the fronts lock. Lap three, you’re stopped too early and crawling into the corner. Sound familiar?
My take: for most sim racers, inconsistent braking isn’t a technique problem. It’s a setup problem. You’re braking on pedal position instead of force, your chair rolls back a centimetre, or the game is laying a curve over your pedal that you don’t know about. As long as that’s going on, you can practise until you’re blue in the face and every stop will still be different.
So, the boring part first. Then technique.
Position or force: what your brain relies on
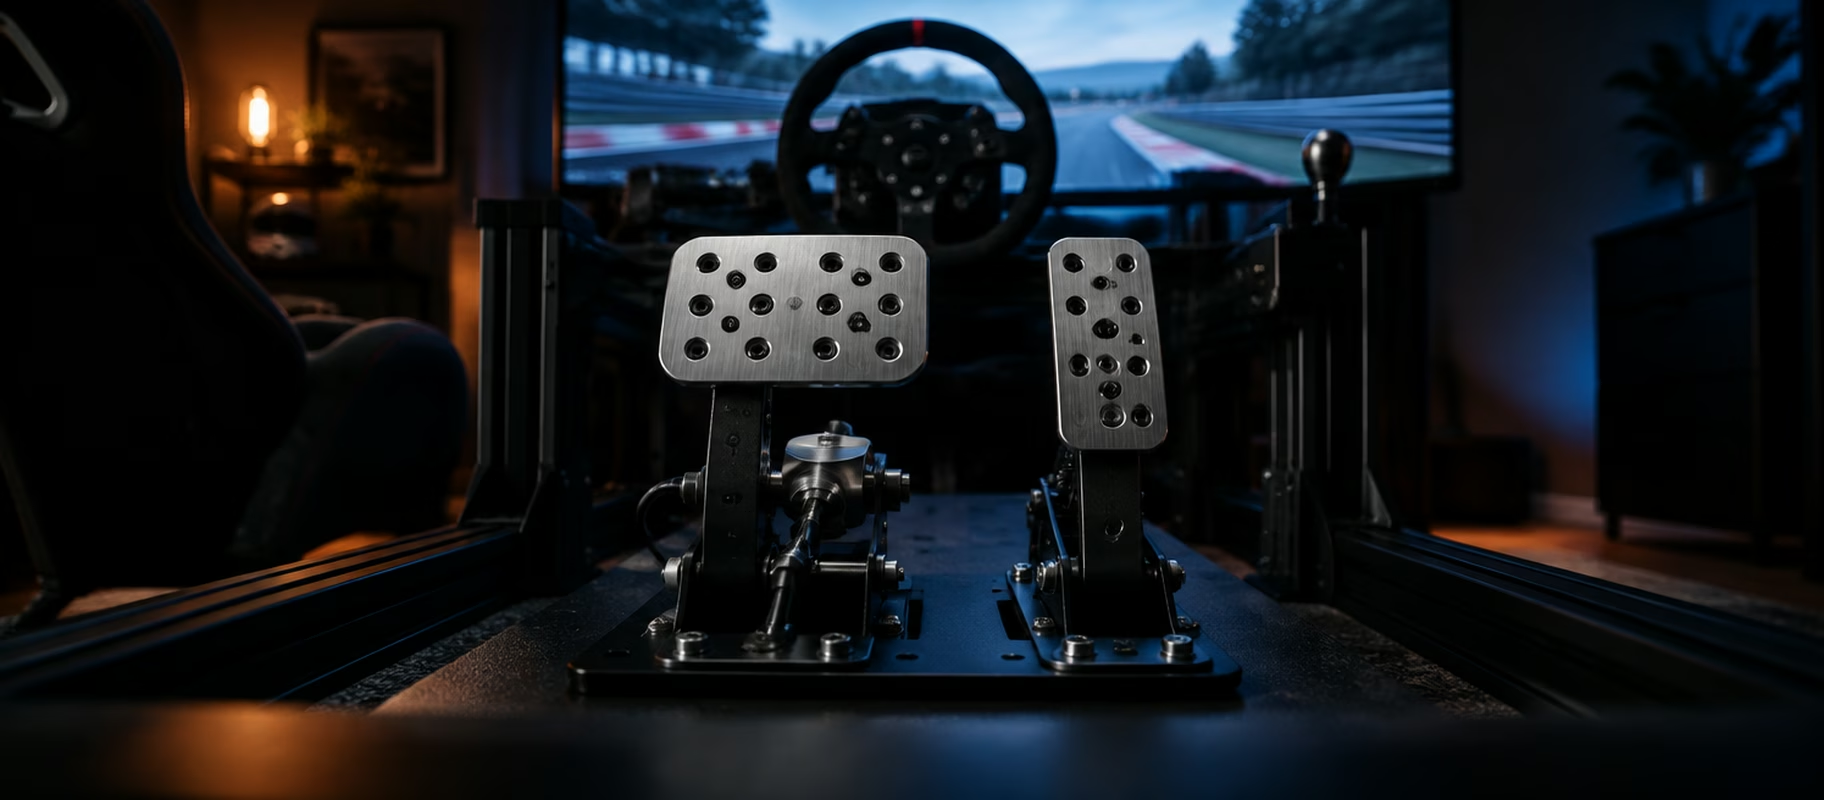
A regular brake pedal measures how far you press it, with a potentiometer or a Hall sensor. A load cell measures how hard you press. Simucube puts it simply: a load cell “doesn’t measure how far the pedal moves, but how hard you press”.
Why does that matter? Because your body remembers force far better than distance. Simucube says that over time you learn what 50%, 70% or 100% braking effort feels like, and Fanatec writes about the Fanatec CSL Elite Pedals V2 that the resistance “trains your muscle memory”. Those are manufacturers selling their own product, of course. But the principle matches how a real brake works: it barely moves, you push.
Driving a position-based pedal right now? Then a load cell brake is the biggest upgrade for your consistency. Bigger than a new wheelbase. Options across price ranges: the Thrustmaster T-LCM (up to 100 kg), the Moza SR-P Pedals, the Fanatec CSL Elite V2 and, once you get serious, the Heusinkveld Sprint. Own the Fanatec CSL Pedals? Those use Hall sensors, but Fanatec sells a load cell kit for them.
Calibrating and maintaining a load cell is covered in our guide to load cell brakes. This piece is about what comes after.
The settings quietly working against you
A load cell won’t help if your game lays a curve over it that was designed for a position pedal. And that happens more often than you’d think.
iRacing. Under Options → Drive you’ll find the Brake Force Factor. Its default is 1.80, the recommended value for potentiometer pedals. For load cells iRacing recommends 0. Heusinkveld says the same in the Sprint manual: “Always set the Brake Force Factor to 0”, and set all in-game pedal settings to linear.
Assetto Corsa Competizione. Here it’s called Brake Gamma. Driver61 recommends a gamma of 1.00 for load cells with a Max Limit between 0% and 5%. For position-based pedals, a gamma of 2.50 to 3.50 instead.
Maximum brake force. There’s no magic number. Heusinkveld ships the Sprint at roughly 30 kg and says the right value is personal and varies per car: fast high-downforce cars need more force. Set it high enough that you have to push, but not so high that your leg is burning after an hour of racing. Driver61 points out that muscles lose accuracy as they tire. And a tired leg doesn’t brake consistently.
Locking up before 100%. Heusinkveld writes that some cars in some games lock the wheels at around 70% pedal input. Then you spend the whole race aiming for a narrow slice of your pedal. Moza describes a setup where full pressure only registers as 80% in-game, and Driver61 suggests something similar in iRacing for cars without ABS. That puts the lock-up limit in your foot, not on a knife-edge in the software.
Your chair is a brake pedal too
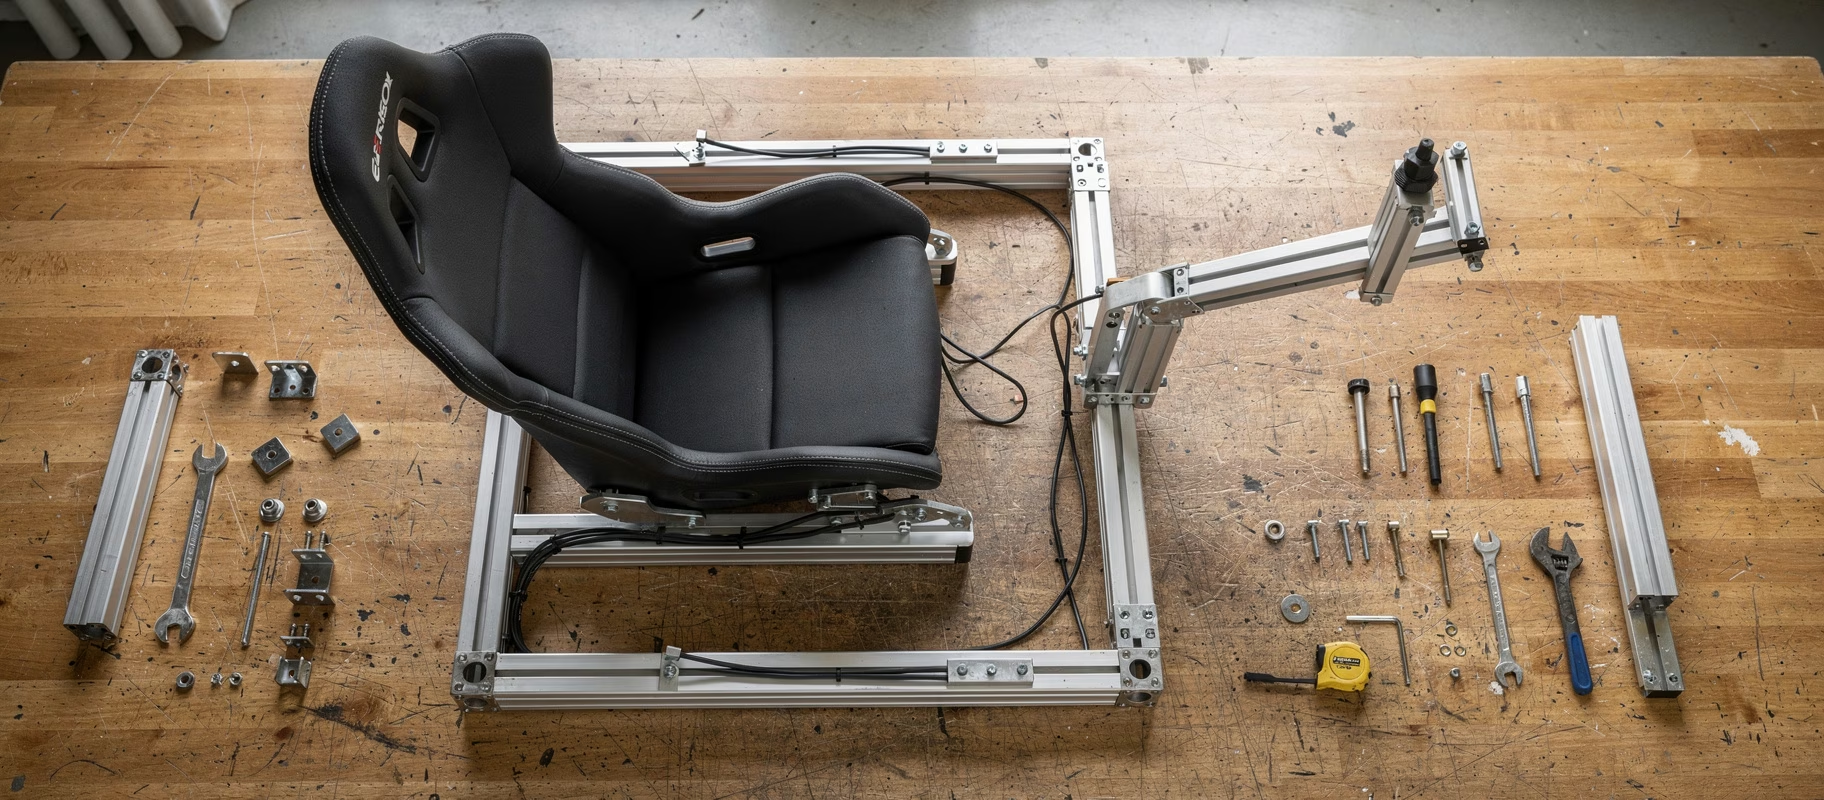
This is the least sexy tip and maybe the most important one. Driver61 writes that a solid chair that doesn’t swivel or roll is “critical” for pedal feel. Pushing 40 kg into a brake while your office chair rolls backwards? Then your pedal measures something slightly different every time.
What helps:
- A fixed seating position. A rig, or at least a chair that doesn’t roll away.
- A slight bend in your knee with the brake fully pressed, again per Driver61. You can’t modulate with a locked leg.
- A rigid base. For the Sprint (up to 65 kg of brake force) Heusinkveld says to mount the pedals on “a very rigid base”. A pedal plate that flexes eats part of your force, and never exactly the same part.
- A stiff pedal. According to Heusinkveld, a stiff pedal with little travel is easier to operate than a long, soft one.
We have a separate guide on seating position in general.
Hard on, then gradually off
Now the technique. Fast drivers’ brake traces almost always look the same. Coach Dave Academy describes it like this: get to peak pressure quickly and firmly, then gradually bleed it off as you turn in. That last bit is trail braking.
Why hard first? At high speed you have the most grip, especially in cars with downforce. Driver61 explains that aerodynamic grip drops as you slow down, so you have to reduce pressure to avoid locking up. On a brake trace, good trail braking looks like a smooth decline, not a cliff.
Two things that vary per car:
- ABS. GT3 cars usually have ABS. For ACC, Coach Dave writes that a lower ABS setting gives a shorter braking zone but a less stable car. Start high and go down as far as feels comfortable.
- Brake bias. More to the front gives stability under braking but understeer on turn-in. More to the rear rotates the car more easily but can cause oversteer. Only play with it once your braking itself is consistent.
Pick a braking point that stays put
Your braking point should be something that’s in the same place every lap. Track Titan warns against shadows and skid marks: shadows move, and you can’t always count on boards in a race. Pick something fixed: a post, the start of a kerb, a building next to the track.
Braking too early? Driver61 has a simple method: consciously pick a reference point and move it forward a little every lap. Within four or five laps you’re at the limit. That only works if your braking is repeatable to begin with. Which is why this section comes last.
Practise with data, not feel
Your feel lies. A brake trace doesn’t.
- Garage 61 is free for iRacing and lets you lay your brake traces next to faster drivers’. Coach Dave compares it with its own Delta, which also supports ACC, LMU, AC EVO and GT7 (paid).
- Track Titan analyses iRacing, LMU, ACC, AC EVO, AMS2 and the F1 games, and shows where your braking phase runs too long.
- A brake trainer without a car. Velocity Pro Sims has a free browser tool with a “Hold the Pressure” drill (hold a target pressure) and a trail braking trainer with profiles for hairpins, medium and high-speed corners. Ten minutes before your race. Boring? Yes. Does it work? It’s exactly the muscle memory that load cell is all about.
My advice: pick one corner. One. Drive it twenty times, then compare your brake trace with someone faster. Is your peak at the same height? Do you release just as gradually? Only when that one corner goes the same every time is it time for the next.