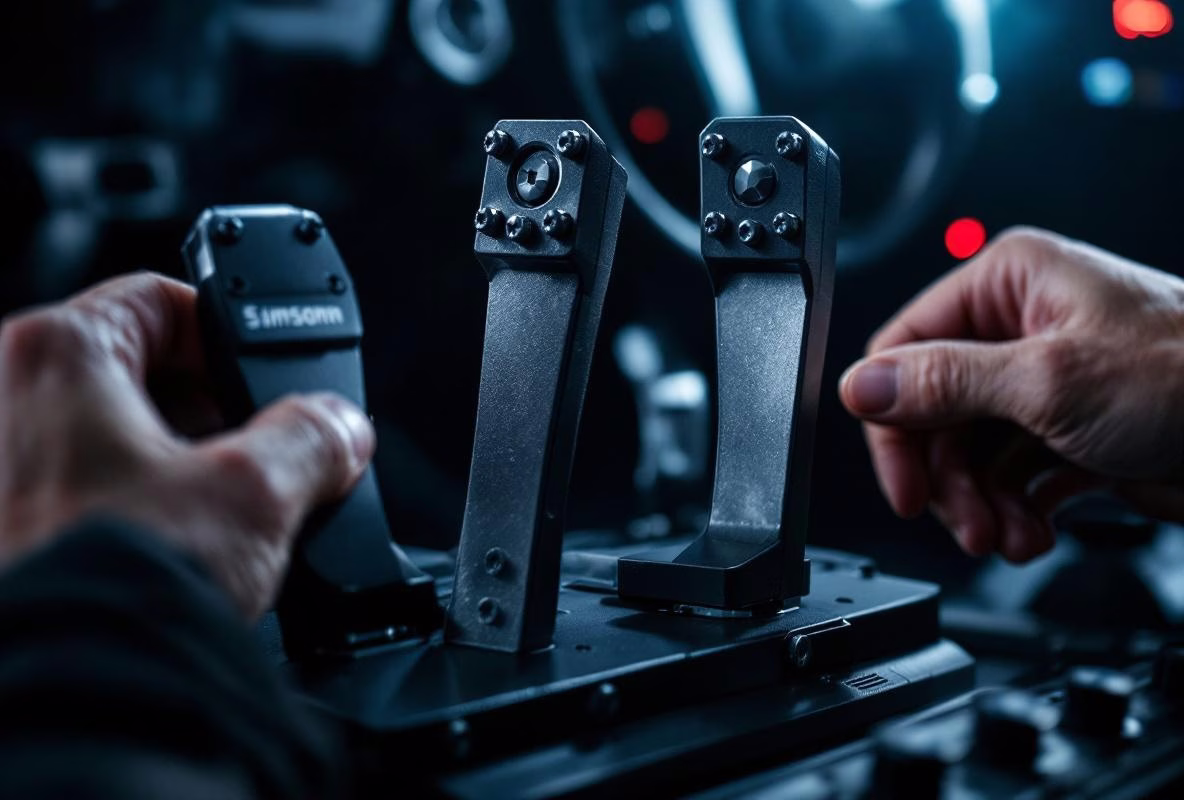
I spent three hours mounting my Simsonn pedals wrong. Tightened everything down, hopped into iRacing, and the brake felt like stepping on a wet sponge. Turns out I’d missed one T-nut connection and the entire pedal plate was flexing under load. One bolt. That’s all it took to ruin the experience.
Simsonn pedals (the S1, S-Duo, and friends) are serious hardware. They push serious force into your rig. And that force will find every weak point in your mounting. Get it right, and you’ll wonder why you didn’t upgrade sooner. Get it wrong, and you’ll think the pedals are broken.
Here’s everything I learned so you don’t repeat my mistakes.
Your Rig Is Probably Fine (It’s The Mounting That Matters)
This comes up constantly on RaceDepartment and r/simracing: “Is my rig strong enough?” For most popular rigs, yes. A Trak Racer TR80 (€549), Sim-Lab GT1 Evo (€359), or GT Omega Prime (€699) can all handle Simsonn pedals without breaking a sweat. The question isn’t whether your rig is strong enough. It’s whether you’ve bolted the pedals to it properly.
Any flex, any play, any wobble in the connection between pedals and rig goes straight into your braking feel. You’re training muscle memory on a moving target. That’s pointless.
Mounting: The Actual Steps
Get Your Stuff Ready
Simsonn ships the pedals with a footplate, bolts, and nuts. Before you touch anything, check you have:
- The supplied mounting hardware (M8 or M6 bolts, usually)
- Extra washers or spacers
- Hex keys
- A spirit level
- A tape measure
Find The Right Position
This part matters more than people think. Place the pedal unit on your rig’s horizontal beams and think about:
- Height and angle. Mimic a race car. Feet should reach comfortably. Knees not too high, not too low. Start with brake and throttle aligned so your feet sit naturally when fully pressing.
- Center it. Wheel and pedals on the same line. Sitting crooked for long stints is a recipe for back pain.
- Level it. Spirit level on the footplate. A slanted mount feels weird and wears unevenly.
Rig-Specific Mounting
GT Omega rigs (ART, Prime, Titan): These have pre-drilled pedal plates, so it’s straightforward. Remove any original plate, place the Simsonn footplate on the profiles, bolt through with M8 hardware, washers on both sides. Tighten evenly. Push hard on the brake to test for flex.
Trak Racer rigs (TR80, TR120, TR160): 80/20 aluminum profile, so you’re using T-nuts. Slide M8 T-nuts into the profile slots, position the footplate, bolt through, tighten in a cross pattern. If your rig allows it, bolt to both sides of the profile for maximum stiffness.
DIY or other 80/20 rigs: Same principle as Trak Racer. Just make sure your T-nuts match your profile slot (8-series or 40-series).
Connect and Calibrate
- USB cable into a motherboard port. Not a hub.
- Download the latest Simsonn Software from their site.
- Run calibration: full press and release on each pedal.
- Set load cell sensitivity to a medium value (50-60kg) to start. You’ll tweak this later.
Dialing In The Feel
This is where it gets fun. And addictive. You’ll spend more time in settings than you’d expect.
The Brake
The load cell brake is everything. In the Simsonn software:
- Max Force: How many kg for 100% input. 60-80kg is a solid starting range. Higher force means more consistency but your leg will hate you during endurance races.
- Curve: Linear is the most direct. Some people like a small deadzone at the top or a progressive curve. Experiment.
- Brake Force: The in-game brake strength. Balance this with Max Force for something that feels natural.
Throttle and Clutch
- Throttle spring tension is usually adjustable mechanically. Stiffer spring = more resistance = better modulation.
- Set a tiny deadzone (1-2%) in software to prevent ghost inputs at rest.
In-Game Settings
Don’t skip this. In iRacing, ACC, or whatever you drive:
- Confirm the pedals are detected.
- Calibrate again within the game.
- Brake gamma at 1.0 (linear) for load cell. Non-linear only if you specifically want it.
- Turn off all in-game ABS and assists. You’ve got proper hardware now. Use it.
When Things Go Wrong
Spongy brake feel? Check every bolt. On the pedals themselves and on the rig mount. It’s almost always one connection that isn’t tight enough. Extra support pillars under the pedal plate help too.
PC doesn’t see the pedals? Different USB port. Reinstall drivers. Check the cable at the pedal end, not just the PC end.
Inconsistent braking? Make sure no gamepad or other controller is stealing input. Recalibrate. Check the load cell mounting screws on the brake (tight, but not gorilla-tight).
Rig shakes when braking hard? Normal, especially on lighter rigs like the GT Omega ART. Add weight: heavier seat, weights on the foot supports, anti-vibration mat underneath.
Keeping Them Happy
Simsonn pedals are tanks, but basic care helps:
- Dust them off regularly.
- Check bolt tightness after the first few weeks (things settle).
- A tiny bit of silicone spray on the throttle pivot points if they feel scratchy. Don’t overdo it.
Get the mounting right, dial in the software, and these pedals will change how you brake. Not just faster, but more consistent. And consistency is what actually makes you quicker.