I stomped on the brake pedal heading into Eau Rouge. The car felt… loose. Not on screen, the entire pedal assembly was shifting under my foot. Like standing on a wobbly diving board. That was it. My pride and joy, my custom-built aluminum profile rig, was a floppy mess.
We buy these things because they’re ‘infinitely adjustable’. Because they’re ‘rock solid’. The truth? They’re only as stiff as you make them. And most people don’t make them stiff enough. Today, I’m breaking down why your rig flexes, and (more importantly) how to fix it for good. No complex theory. Just practical, cynical, battle-tested solutions.
Your rig is a noodle. Here’s why.
Let’s be honest. You probably used 40x40 or 40x80 profile. Good stuff. But you assembled it like an IKEA Billy bookcase. Followed the instructions, tightened the bolts, done. Wrong.
Aluminum profile isn’t magic. It’s a hollow tube. And hollow tubes can bend, twist, and (the worst offender) play at the joints. That flex doesn’t come from the middle of a long beam. Nope. It always, and I mean always, comes from the corners. From where two profiles meet, held by a dinky little corner bracket or a T-nut sitting in the slot.
Think about it. You’re pushing 100kg of force into your brake. That force travels through a pedal plate, into some profiles, into a joint, into the main frame. Every link in that chain is a potential failure point. And your chain is only as strong as its weakest link. Usually, that’s a connection not designed for that specific lateral or torsional load.
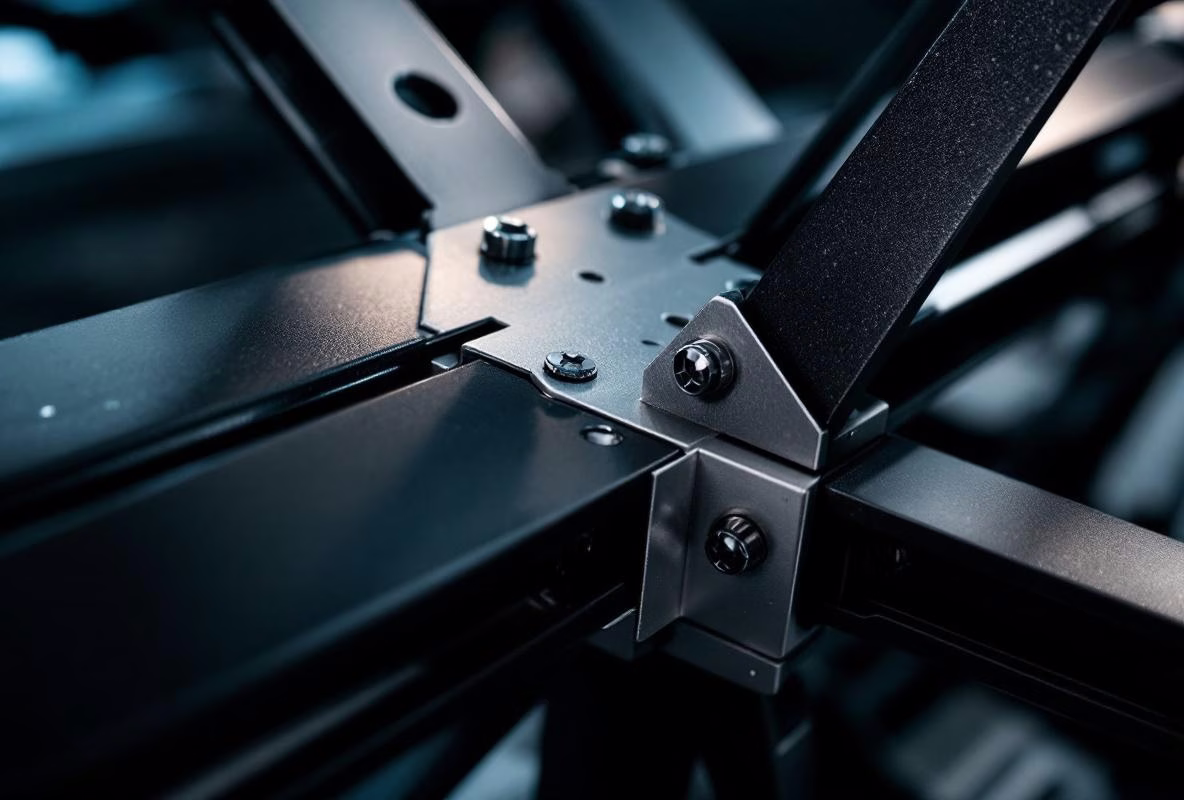
The joint: where it all goes wrong
This is the failure point. You’re using standard 90-degree corner brackets. They’re great for holding up a shelf. For a sim rig? Pathetic.
They have two, maybe three bolt holes. All the force is transferred through the threads in the soft aluminum of the profile. Under heavy braking, that joint wants to hinge. You can’t see it, but you feel it. A mushy, imprecise response.
The fix? Oversized corner gussets. I’m talking thick, black, mean-looking chunks of metal with four, five, or six bolt holes. They spread the load over a much larger surface area of the profile. Instead of one point of failure, you have several. Simple mechanics.
Where do you get them? Any serious online aluminum profile vendor (think Motedis, Item). Look for ‘reinforced corner plate’ or ‘heavy-duty corner bracket’. Might cost you 11-30 euros instead of 2-8. Best investment ever.
The pedal plate: the main culprit
This is ground zero. You’ve mounted a nice set of pedals to a flat, 5mm thick aluminum plate. That plate is secured with four bolts, one in each corner, to two supporting beams.
What happens? The plate acts as a lever. The force from your foot, far from the mounting points, tries to bend the entire plate. And those four bolts can’t stop it. They recoil. They give.
The fix is two-fold.
First: thicken the plate. Go for 8mm or even 10mm aluminum. Every extra millimeter of stiffness is gold. Or, better yet, use an extruded plate, it has ribs on the underside and is way stiffer for the same weight.
Second: support the center. This is the secret nobody tells you. You can’t just support that pedal plate at its edges. You need to run an extra supporting beam directly under where your braking force is highest. Usually, that’s horizontally, between the two vertical uprights. Bolt your pedal plate to that as well. Suddenly you have support across the whole width, not just at the ends.
No more flex. No more drama.
Brackets & accessories: the unsung heroes
Beyond corner gussets, two other brackets will change your life: L-brackets and three-way connecting plates.
L-brackets aren’t just for corners. Use them to create extra bracing between horizontal and vertical beams where a standard corner won’t fit. Think of them as extra buttresses for your structure.
Three-way connecting plates (or ‘cube connectors’) are magic. They let you join three profiles at a single point with a solid metal block. Perfect for the complex junction where your seat rails, main frame, and a horizontal brace all meet. It turns a wobbly three-point contact into a monolith. They’re pricier. They’re worth it.
The DIY mindset: if you can’t buy it, make it
Can’t find a bracket that fits? Time to get creative.
I once cut a pedal plate reinforcement from a scrap piece of 6mm plywood. Seriously. I traced the shape of my pedal plate, cut it out, and mounted it between the pedal plate and the supporting beams. It didn’t add weight to the plate itself, but it created a much wider, sturdier contact patch with the frame.
You can do the same with off-cuts of steel or aluminum from a local metal supplier. Have them drill holes to match your pattern. Costs you a beer and 20 bucks. The result? A rig that feels like it’s carved from a single block of granite.
It’s all about bridging gaps. Reinforcing weak points. Stop thinking in terms of ‘profiles’ and start thinking in terms of ‘load paths’. Where does the energy go? And how can I make that path shorter and more direct?
The ultimate stiffness checklist
Before you buy or cut anything, run through this.
- Bolt size: Are you using M8 or M6? M8 is better. Period. More thread engagement, more grip in the profile.
- Torque: Do you have a torque wrench? No? Get one. Those T-nuts need to be tight. Not ‘hand-tight’. Tight. To spec. Otherwise, they’ll work loose.
- Profile orientation: Is your 40x80 profile oriented with the 80mm side vertical, where the bending force is greatest? If not, flip it. Simple.
- Triangulation: The strongest shape in nature. Can you add a diagonal brace from profile anywhere? Especially behind the pedals or beside the seat? Do it.
- Base footprint: Does your whole rig sit on one continuous, wide base? Or is it on four little feet? Make the contact with the ground as wide as possible. Stability starts from the bottom.
You’ve got the know-how. You now understand that flex is a symptom of bad joints and poor support. It’s not a mystery. It’s mechanics.
So stop accepting that your rig has a little wobble. That’s not ‘character’. That’s sloppy building. Grab your hex keys (or better yet, that torque wrench). Look at every joint. Visualize the forces. And reinforce it.
It’ll cost you a Saturday afternoon and maybe fifty bucks in extra hardware. The payoff? A rig that doesn’t move. A rig that only reacts to what’s on screen. And that, my friends, is the whole point. Real feedback. No wobble.