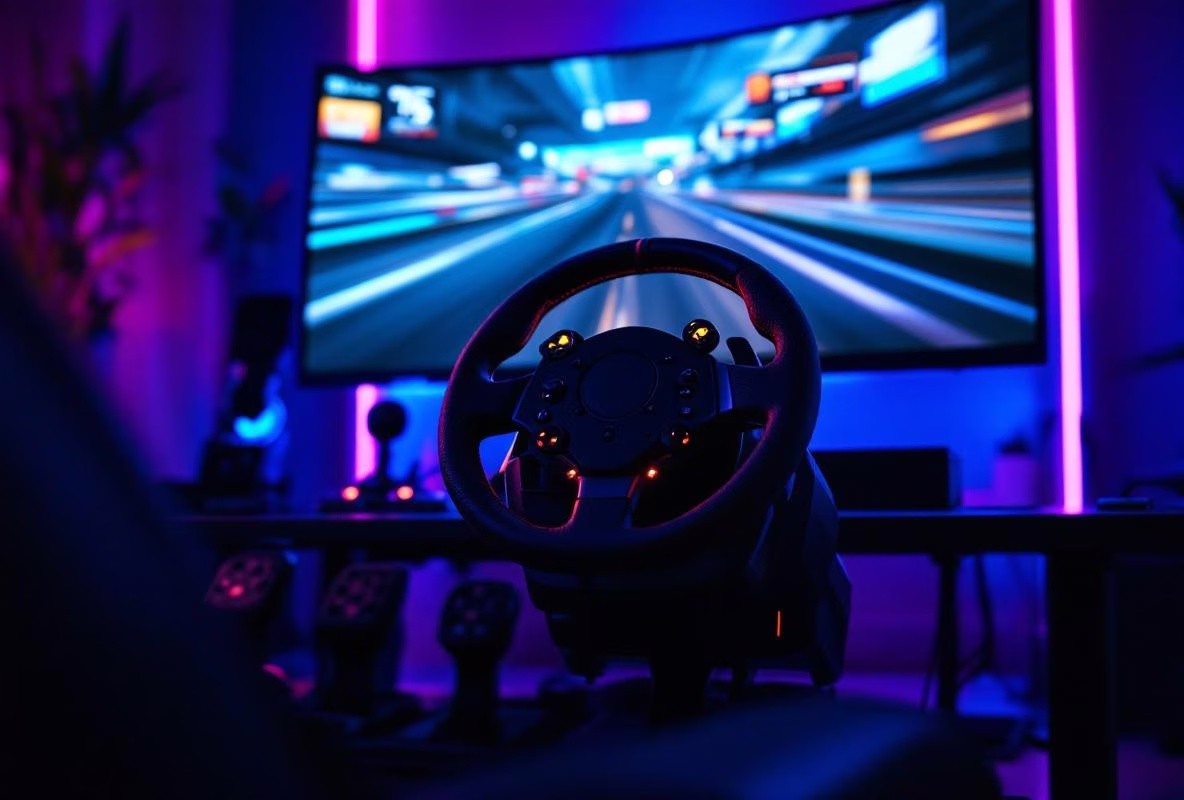
My Rig Cracked. Literally.
Last Tuesday. Final lap on the Nordschleife. I brake for Aremberg, and a sharp crack comes from my pedal deck. Not the game. My homemade wooden rig gave up. Again.
That was the moment. I was done with wobbly Ikea hacks and cheap solutions that fell apart after three months. I wanted better feedback, less noise for the neighbors, and a rig that didn’t shake like an old washing machine. But my wallet? It screamed in protest.
So I went looking. Not for the most expensive gear. But for smart, do-it-yourself solutions. And you know what? The sim racing community is a treasure trove of brilliant, affordable mods. From 3D-printed parts that transform your pedals to homemade bass shakers that save your bank account. This is what I learned, and why building your own rig is often better than buying.
DIY Beats Buying. Here’s Why.
Let’s be real. Most manufacturers just want you to buy their next, expensive accessory. A new load cell kit. An official haptic feedback module. A special anti-vibration platform.
Fine. If you have too much money.
But often, you can get the same result (or better) with an afternoon of tinkering, an online guide, and a few dozen euros in parts. It’s not about being cheap. It’s about control. You build exactly what you need. The stiffness, the feedback, the damping. You decide.
And it’s fun. Surprisingly fun. There’s nothing like the feeling of your first homemade bass shaker making the Monza curbs palpable. Trust me.
The 3D Printer: Your New Best Friend (or Enemy)
I hated it. Always that fiddling with bed leveling, filament that snaps, prints that fail. Until I realized the treasure trove of sim racing modifications on sites like Thingiverse and Printables. For free.
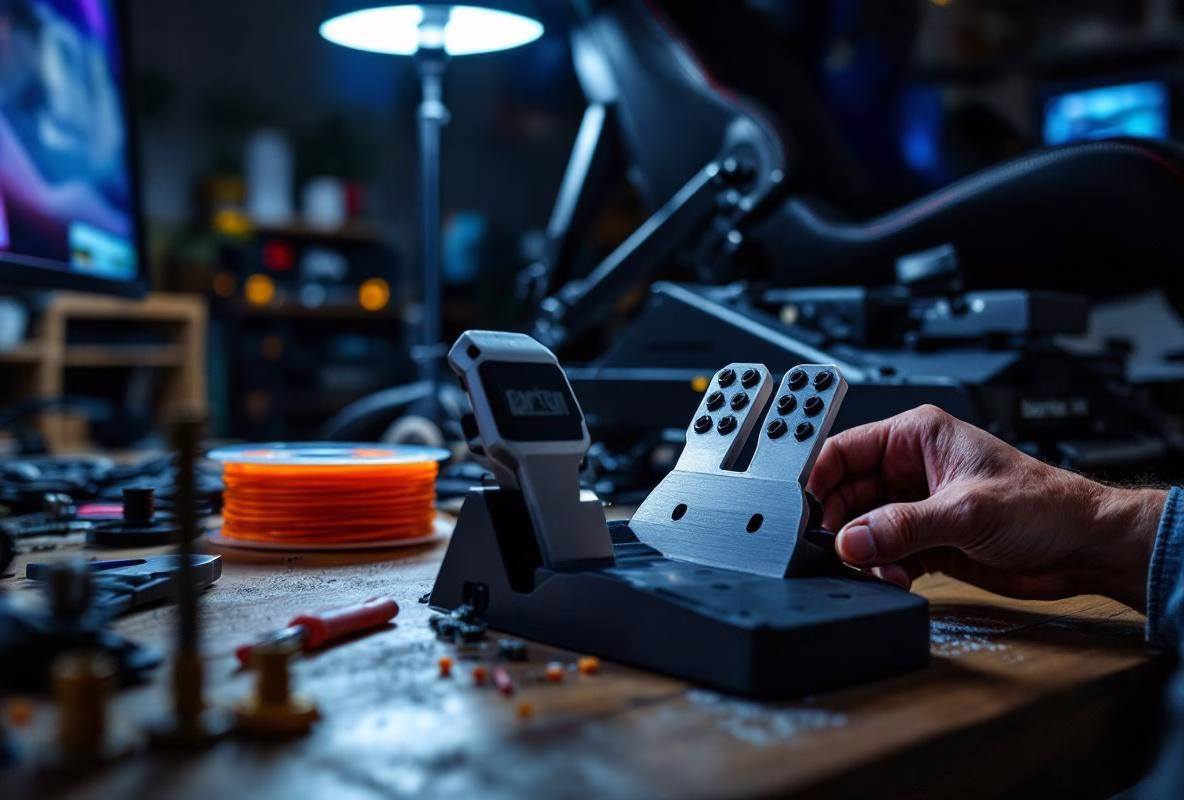
Pedal Upgrades That Actually Add Something
The easiest win? Pedal mods. The elastomers in your Fanatec or Thrustmaster pedals are often too soft or too hard. And the official upgrade kits? Pricey.
Search for ‘brake pedal mod’ for your model. You’ll find dozens of designs for 3D-printed elastomer housings or progressive blocks. Print them in TPU (a flexible filament). Costs you a few euros in material. The result? A brake feel you can fine-tune yourself. No more messing with stacking the original rubber rings.
Hot take: A set of self-printed TPU blocks often gives you a better, more consistent feel than the official elastomers from the brand. Those are for the masses. You are not the masses.
Holder and Mounting Hell Solved
We all know it. That one USB hub that won’t stick anywhere. The phone sliding off your rig. The headset rolling on the floor.
Design your own holder. Seriously. Tinkercad is a free, browser-based program you can learn the basics of in an hour. Measure your rig, draw a simple clip or bracket, and print it. I have mounts for my Stream Deck, my water bottle, and my VR headset. Everything sits exactly where I want it. Neat. Solid.
It’s not hard. It’s just doing it.
Bass Shakers: The Secret to Immersion Without a Mortgage
I wanted haptic feedback. Badly. But the prices for complete systems from Buttkicker or NLR haptics hurt. Then I stumbled upon ‘transducers’. A fancy word for a large, powerful speaker that makes vibrations instead of sound.
You buy a Dayton Audio BST-1 or an AuraSound AST-2B-4. Costs between 60 and 100+ euros. Then you need an amplifier (a Nobsound mini-amp typically costs around 40-90 euros). Connect the shaker to the amp, the amp to an audio output on your PC, and use software like SimHub (free!) or Sim Shaker (paid) to convert in-game sound effects into vibration signals.
Mount the shaker under your seat or on your rig frame with bolts. No tape. Use. Bolts.
The result? You feel the engine, the curbs, the road surface, the slip. Immersion goes through the roof. For around 150-200+ euros. A ready-made Buttkicker system starts at around $350 USD (approximately €320+) for basic models. And you only need one shaker to begin with. Add another under your pedals later for brake lock and clutch.
Warning: Your neighbors will notice. Especially in an apartment. Which brings us to the next point.
Vibration Isolation: How to Avoid a Fight with the Downstairs Neighbors
Bass shakers are amazing. Until the neighbor downstairs rings your bell because his lights are dancing. And your own rig roars and creaks along with every vibration. A shame.
The solution? Isolate your rig from the floor. The goal isn’t to stop all vibrations, but to dampen the low-frequency ‘rumble’ that travels through buildings.
The Budget Solution: Gym Mats and Tennis Balls
Cut a few blocks from a thick gym mat (the one from Action is fine). Place your rig feet on them. Works surprisingly well. Even better? The legendary ‘tennis ball truck’.
Cut old tennis balls in half. Or buy specially made rubber isolation feet. Place these between your rig and the floor (or between your rig and the gym mat blocks). These act as shock absorbers. They take away the coarse, floor-piercing vibrations. Your rig can still move, but the energy is absorbed.
It’s ugly. It’s low-tech. But it works. And it costs almost nothing.
The Pro Solution: Sorbothane or Isolated Platforms
Want to do it right? Invest in Sorbothane pads. This is a special damping material that’s extremely efficient. You buy pads or blocks and mount them under your rig. More expensive, but it’s the gold standard.
The ultimate DIY? Build an isolated platform. Two layers of MDF or plywood with a layer of solid damping material in between (like green glue or special damping mats). Your rig sits on the top sheet, which is isolated from the bottom sheet on the floor. This breaks the sound bridge. It’s a project. But if you’re serious about your bass shakers and live in an apartment, this is almost mandatory.
Cable Management: The Forgotten Art
A messy rig is a bad rig. Cables in the way, USB plugs coming loose, a tangle of power adapters. It breaks immersion. And it looks sloppy.
Do something.
Cable ties. Velcro straps. Cable channels. Buy a pack for a few euros and spend an hour tidying everything up. Use USB hubs with their own power supply (powered hubs) to avoid connection problems. Label your adapters with a sticker or a piece of tape.
It seems unimportant. Until you can’t shift mid-race because a cable got caught somewhere. Been there.
The Biggest Pitfall (And How to Avoid It)
Enthusiasm. It’s your biggest enemy. You see all those cool mods and want to do everything at once. You order parts for three projects, start one, and have half-finished junk lying everywhere.
Do one thing. Choose the project that causes you the most pain. Are your pedals too soft? Start with the 3D print mod. Is your whole house shaking? Focus on isolation. Want more feel? Install one bass shaker.
Finish that one project. Test it. Enjoy it. Then move on to the next.
DIY is about iteration. Small improvements that stack up. Not about a weekend where you completely dismantle your rig and can’t race on Monday.
Is It Worth It?
Absolutely.
You save money. A lot of it. But more importantly: you learn how your rig works. You understand the mechanics of your pedals, the electronics of feedback, the principles of sound isolation. If something breaks, you can fix it. You’re not dependent on a manufacturer or an expensive repair service.
And it’s satisfying. There’s a special kind of pride when you think after a long race: ‘I didn’t just drive fast. I drove on something I built myself.’
Start small. Make a mistake. Learn from it. And enjoy the ride. It’s, after all, what sim racing is all about.